

It hits just below the knee which is my sweet spot.

It's all cotton and it comes in cute colors.
It's $59.99.
Wha?
So I made one my ownself for under $10 and I'm here today to tell you how you can do this too.
1. Assemble your ingredients.
Go to Wal Mart (or Hobby Lobby or Joann's etc.) and get 2 yards of cotton fabric in the color of your choosing. I chose Prussian Blue. The fabric was $5.97 for 2 yards pre-tax.
Grab a pack of 1 inch wide no-roll elastic for the waist ($1.77) and a spool of coordinating thread if you don't already have some.
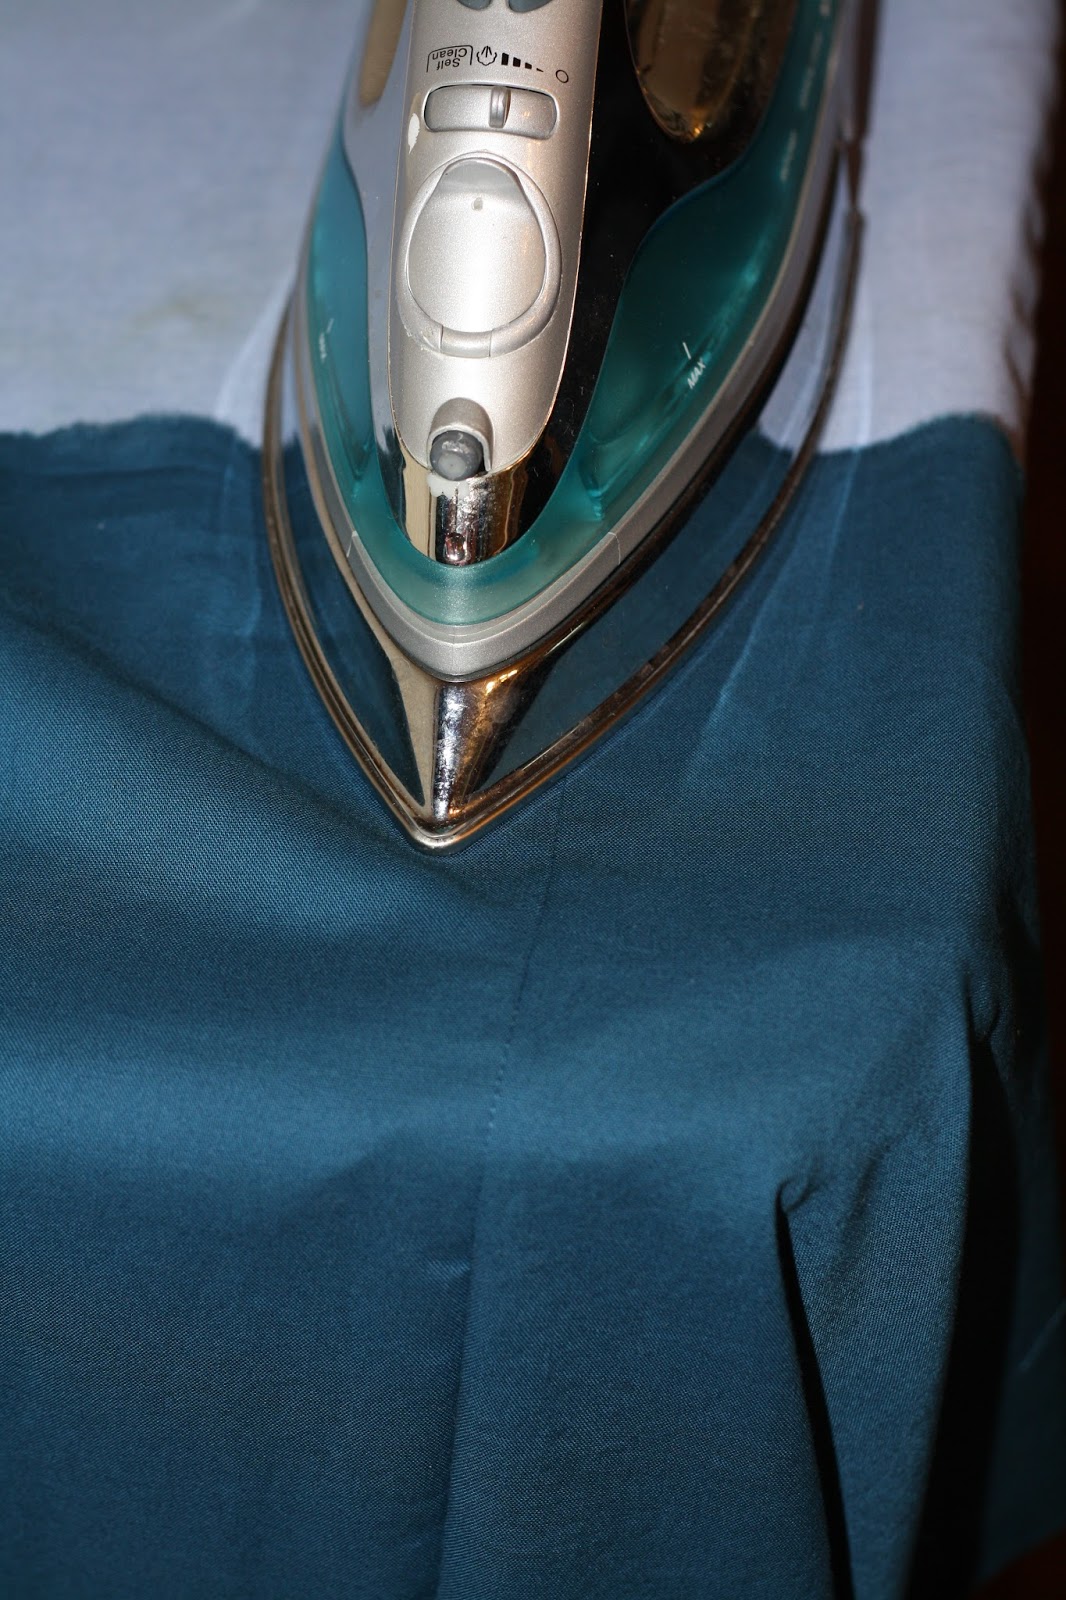
Wash, dry, and press your fabric. With an iron, Sara. With an iron.
2. Cut your fabric.

Fold the fabric in half and cut two rectangles. My rectangles were 28 inches wide and at least 30 inches long. That gave me plenty of length to make the waist band and figure out a cute wide hem.
Those measurements are good for a GAP small. If you want to make a custom size, take your hip measurement and add 16 inches or more if you want a fuller skirt. If you're tall, cut longer rectangles. Two yards should be enough for everybody. Divide by 2 because one rectangle is the front and one is the back. But you knew that.
3. Sides.

I did my own version of a French seam on the sides. That's a fancy term for saying I sewed the rectangles together up the sides with a scant quarter inch seam allowance. (Apparently I was supposed to trim the seams to 1/8". Oops.)
Then I turned the giant tube inside out and ironed the seams.

Next, I sewed the sides again with a slightly more generous half inch seam allowance. This way, the side seams will never fray, and look super neat and tidy.
It helps that my fabric looks the same front and back.
4. The waistband.


Next, fold over that edge and iron a generous inch and a quarter all the way around. We are making a tunnel for the elastic to go through.

Sew this edge down but leave a couple of inches open to fit the elastic in like so.

Use the biggest safety pin you can find, pin it through one end of the elastic and feed the elastic through the tunnel.
When you've worked it all the way through, try on the skirt and adjust the gathers to your liking.

Stitch the ends of the elastic together and clip off the excess.
Stitch down the rest of the seam to conceal the rest of the elastic.
I did sew through the whole waist band at the side seams for a vertical inch or so, just to keep the gathers even.
5. The hem.
 |
| This may or may not be the same picture from up above. |
6. Commence awkward backyard photo shoot.


7. Caveats.
The Gap skirt has pockets. Carry a purse or wear a fanny pack or pay $60 for pockets.
The thin cotton fabric needs a slip. On it, Mom. FYI, the Gap skirt needs a slip too.
My apologies for the photo quality of this post, or lack thereof. I can only master one piece of machinery at a time. This time I beat the sewing machine into submission but let the camera be the boss. No time for photo editing or this post would never see the light of day like many I have in my drafts folder.
Susan and Lucy have fabric ready and waiting to be transformed. Lucy's is red, and Susan's is seersucker. Way to choose the wrench, Susan.
Linking up with This Ain't the Lyceum for Friday Quick Takes and you know I'll be back on Wednesday. I never miss the first Wednesday of the month because WHAT WE'RE READING WEDNESDAY!
 |
| "I'll be back!" |

Thanks for a helpful post Jessica, your comments on slip and pocket made me LOL. Is there a tutorial on how to sew and wear fanny packs with style?
ReplyDelete